
Building on the previous guide, this tutorial shows how to deploy DeepSeek-R1 using a serverless setup on Runpod. If your local machine (like my Mac Mini M1 16GB) isn’t powerful enough for fast inference yet you still require privacy, this approach is for you.
1. Setting Up a Serverless Instance on Runpod
Runpod Serverless provides a scalable, cost-efficient environment that abstracts the underlying infrastructure. Here's how to set it up:
Sign Up & Create an Instance:
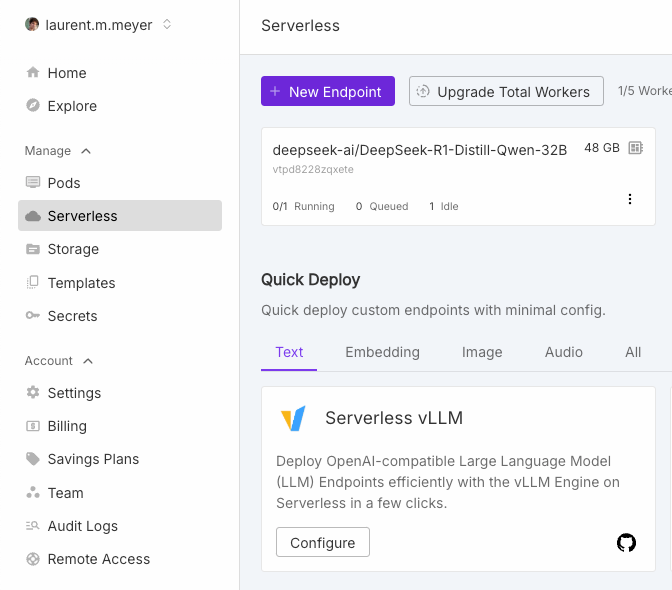
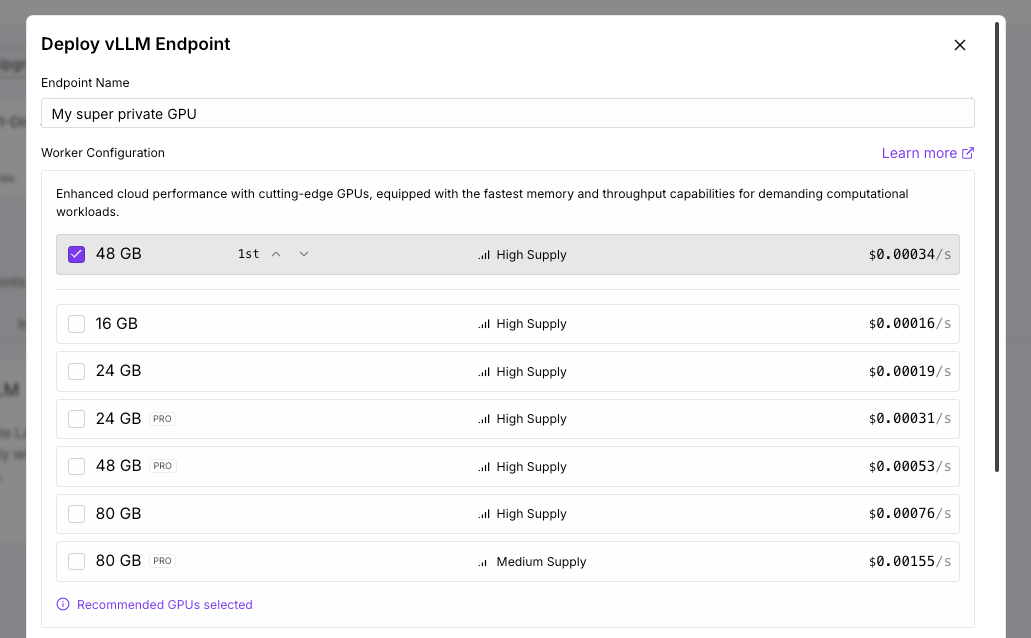
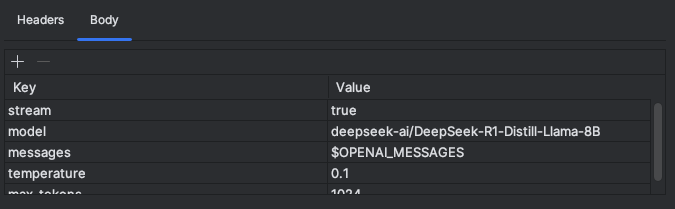
Create an account on Runpod and set up your serverless instance. You can use any model, I chose deepseek-ai/DeepSeek-R1-Distill-Llama-8B.
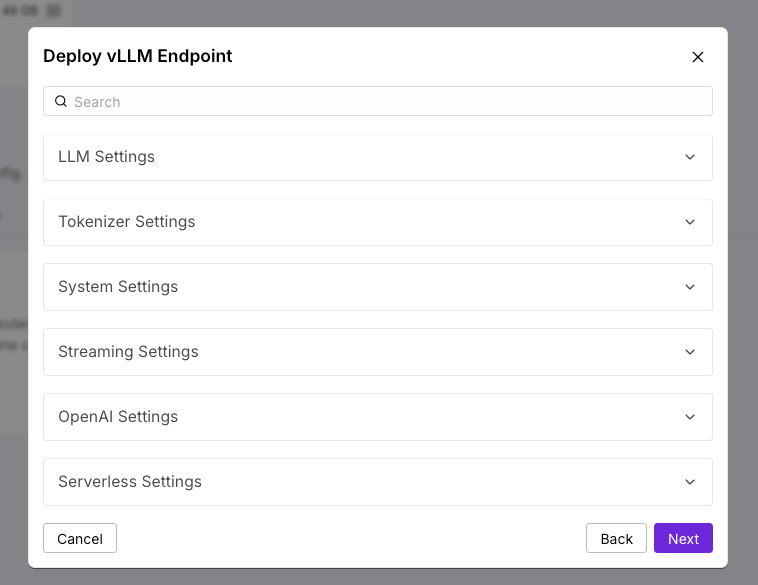
Deploy the Model:
Using Runpod’s management console, deploy your instance and obtain your endpoint URL. This URL acts as your custom API base that connects to the model via the vLLM interface.


Automatic Scaling:
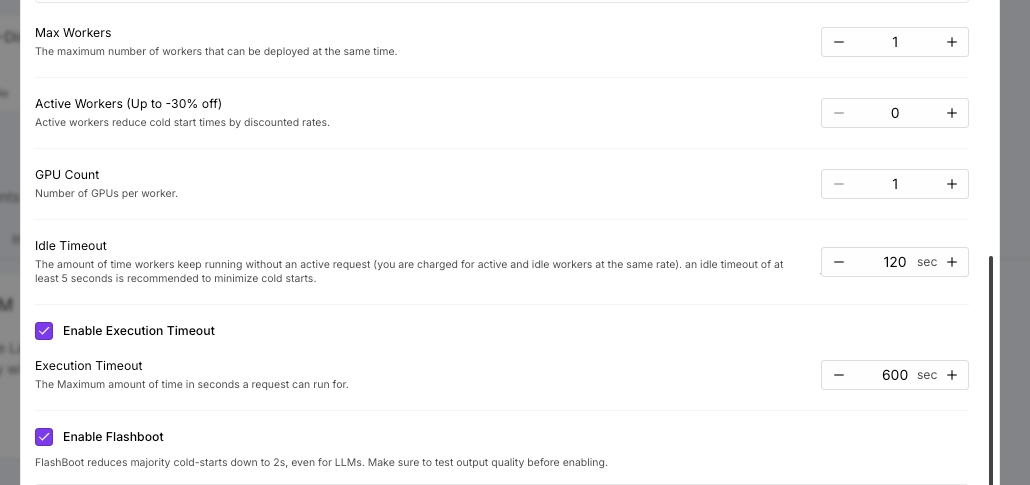
The serverless architecture automatically scales resources based on demand. You won’t have to manage clusters or worry about hardware provisioning. If there is no usage, it will scale back down to zero, ensuring cost efficiency by only consuming resources when needed.
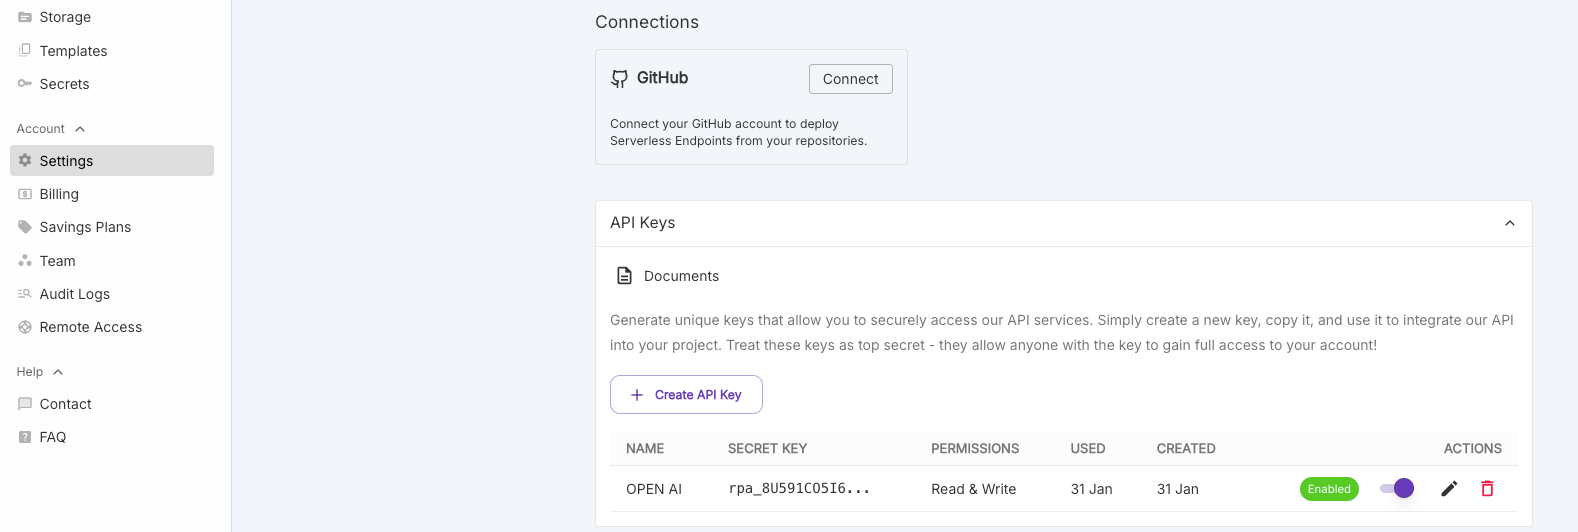
Key generation:
Do not forget to create a API key to access your instance

2. Understanding vLLM
vLLM is a flexible interface that simplifies interacting with large language models. Here are the key points:
Flexibility:
vLLM allows you to load, initialize, and query models like DeepSeek-R1 efficiently, regardless of the underlying hardware architecture.
Custom OpenAI Base URL Support:
vLLM mimics the OpenAI API, meaning any plugin or third-party application that works with OpenAI can seamlessly connect to your model on Runpod. Since it responds just like OpenAI, you can use it with any tool that allows you to specify the API URL—unlocking broad compatibility without modifications. This is HUGE!
3. Running OpenWebUI with Docker
Combine everything by running OpenWebUI in a Docker container that connects to your Runpod-deployed DeepSeek-R1 instance. Use the following command:
docker run -d -p 3000:8080 \
  -e OPENAI_API_KEY=RunPodKey \
  -e OPENAI_API_BASE_URL=https://api.runpod.ai/v2/myinstance/openai/v1 \
  -v open-webui:/app/backend/data \
  --name open-webui \
  --restart always \
  ghcr.io/open-webui/open-webui:main
Explanation:
-p 3000:8080: Maps port 3000 on your local machine to port 8080 in the container.-e OPENAI_API_KEY=RunPodKey: Sets the API key for the Runpod instance. ReplaceRunPodKeywith your actual Runpod key.-e OPENAI_API_BASE_URL=https://api.runpod.ai/v2/myinstance/openai/v1: Directs the container to your custom API endpoint on Runpod. Replacemyinstancewith your actual instance ID.-v open-webui:/app/backend/data: Mounts a volume namedopen-webuito the container directory/app/backend/datafor data persistence.--name open-webui --restart always: Names the containeropen-webuiand ensures that it restarts automatically if it stops.ghcr.io/open-webui/open-webui:main: Specifies the Docker image to be used (OpenWebUI'smaintag).
Accessing DeepSeek-R1
Once the container is running, open your browser and navigate to http://localhost:3000 to interact with DeepSeek-R1. Since Open WebUI will make a request to your GPU to detect which models are presents (and that vllm is Open AI compatible), you do not need to do anything but signup into your open webui (if not done already).
⚠️ Serverless Runpods can take a few minutes to initialise depending on the model and the GPU.
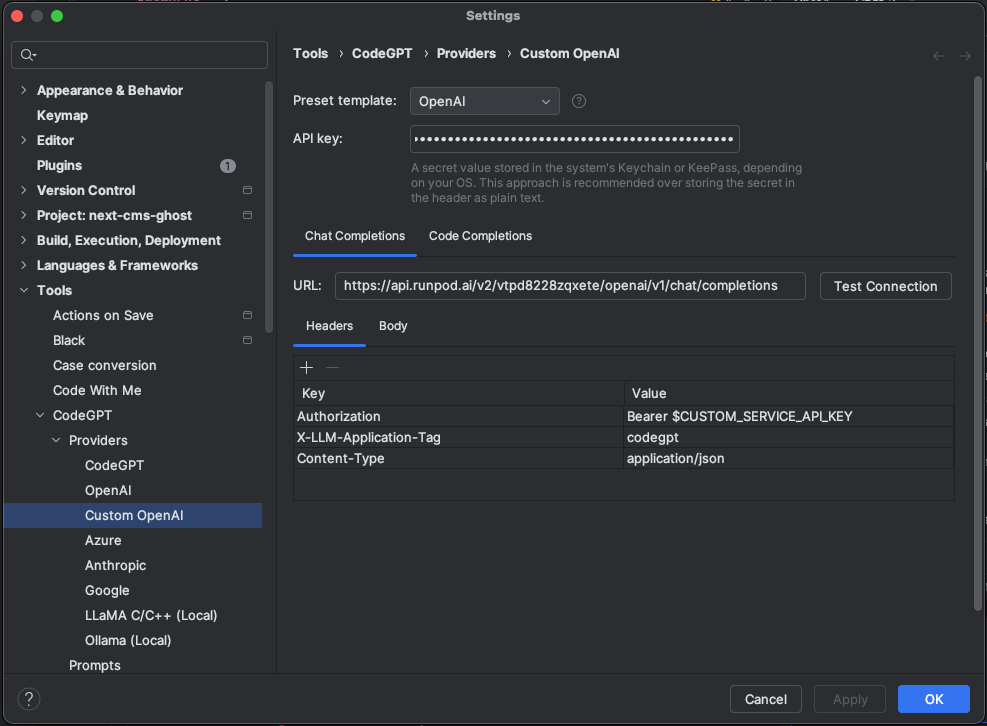
4. Integration with CodeGPT
vLLM's support for a custom base URL allows seamless integration with various tools. Configure CodeGPT and OpenWebUI to point to your custom API endpoint. These tools will interact with your instance as if it were a standard OpenAI interface, while leveraging the privacy and performance of Runpod.
For CodeGPT:
The base URL is:
https://api.runpod.ai/v2/your-instance/openai/v1/chat/completions
The API key is your RunPod API key.


If you do not know how your models are called:
curl --location --request GET 'https://api.runpod.ai/v2/vtpd8228zqxete/openai/v1/models' \
--header 'Authorization: Bearer YOUR_KEY' \
Benefits
- Privacy: Keep your data and interactions secure.
- Scalability: Automatically scale resources as needed.
- Integration: Easily connect with popular AI tools like CodeGPT and OpenWebUI.
- Multiuser: Because of serverless balancing, you can use this setup for a small (engineering) team and it should handle the load properly.
Final Thoughts
Deploying DeepSeek-R1 on Runpod Serverless with Docker and vLLM gives you the best of both worlds. You’re effectively running a local LLM that processes your own RAG data—ensuring that nothing confidential gets mixed into broader training pipelines because it’s all on bare metal. Plus, the serverless setup means it shuts down when you’re not using it, cutting down on idle resource costs and keeping everything tight and secure.